
DIY Calendula Oil Eye Cream for Puffiness & Dark Circles
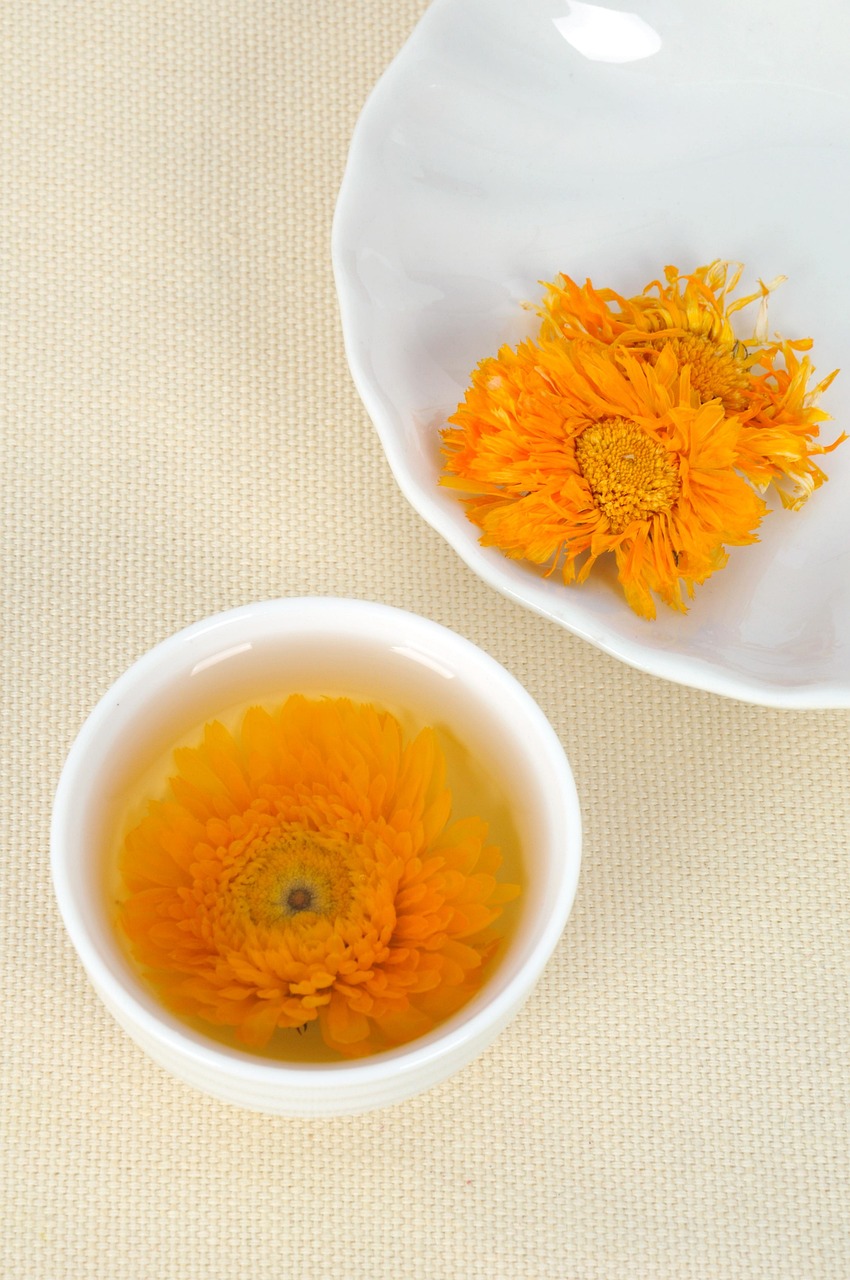
Creating your own calendula eye cream recipe allows you to control every ingredient while exploring the gentle, traditional skincare properties of this golden botanical treasure. The delicate skin around our eyes deserves special attention, and calendula oil has been cherished for centuries in folk remedies for its soothing qualities and potential to support skin comfort.
This DIY calendula eye treatment combines the time-honored botanical with complementary ingredients that may help promote a sense of skin wellness. While we make no medical claims about treating conditions, many people report feeling satisfied with homemade eye creams that focus on gentle nourishment and hydration.

Understanding Calendula for Eye Area Care
Before diving into our recipe, it's helpful to understand why calendula oil has earned its place in traditional skincare practices. Extracted from marigold petals, calendula oil contains naturally occurring compounds that have been studied for their potential skin-supporting properties. Some research suggests these compounds may help maintain skin comfort, though individual experiences can vary significantly.
The eye area presents unique considerations due to its thinner, more sensitive skin. When formulating a calendula oil for face application, extra care must be taken with dilution and ingredient selection.
Recipe Difficulty & Time Requirements
- Difficulty Level: Beginner-friendly
- Prep Time: 15 minutes
- Cooling Time: 2-3 hours
- Total Time: 3 hours
- Yield: Approximately 2 ounces of eye cream
Essential Ingredients List
Base Ingredients
- 2 tablespoons pure calendula-infused oil (ensure it's suitable for facial use)
- 1 tablespoon sweet almond oil or jojoba oil
- 1 teaspoon beeswax pellets (or carnauba wax for vegan option)
- 1/2 teaspoon shea butter (unrefined, organic preferred)
Optional Enhancing Ingredients
- 2-3 drops vitamin E oil (natural preservative qualities)
- 1 drop chamomile essential oil (properly diluted - see safety section)
- Pinch of sea buckthorn oil (adds natural orange tint)
Equipment Needed
- Double boiler or heat-safe glass bowl
- Small saucepan
- Glass stirring rod or clean spoon
- Small glass jars (0.5-1 oz capacity)
- Labels for dating and identification
Step-by-Step Instructions
Step 1: Prepare Your Workspace
Sanitize all equipment with rubbing alcohol and allow to air dry. This helps extend the shelf life of your finished product. Ensure your workspace is clean and free from contaminants.
Step 2: Set Up Double Boiler
Fill your saucepan with 1-2 inches of water and bring to a gentle simmer. Place your heat-safe bowl on top, ensuring the bottom doesn't touch the water. This gentle heating method prevents overheating your delicate ingredients.
Step 3: Melt the Solid Ingredients
Add beeswax pellets to your double boiler bowl first, as they require the longest melting time. Once they begin softening (about 2-3 minutes), add the shea butter. Stir gently with your glass rod.
Step 4: Incorporate the Oils
Once the wax and butter are nearly melted, slowly add your calendula oil and sweet almond oil. Stir continuously to create a smooth blend. The mixture should have a golden, honey-like appearance.
Step 5: Add Optional Ingredients
Remove from heat and allow to cool slightly (about 1-2 minutes). Add vitamin E oil and any other optional ingredients. If using essential oils, ensure they're properly diluted according to safety guidelines below.
Step 6: Pour and Set
Quickly pour the mixture into your prepared jars, leaving about 1/4 inch headspace. The mixture will begin solidifying as it cools. Allow to set at room temperature for 2-3 hours before sealing with lids.
Critical Safety Warnings
Dilution Requirements
Essential Oil Dilution: If adding essential oils, use no more than 0.25% dilution for eye area products. This equals approximately 1 drop per 2 ounces of finished product. Always use oils known to be gentle around eyes.
Patch Testing Protocol
Before using your DIY calendula eye treatment, perform a patch test:
- Apply a small amount to your inner wrist
- Wait 24-48 hours
- Check for any redness, irritation, or discomfort
- Only proceed if no adverse reactions occur
Contraindications
- Allergies: Avoid if allergic to ragweed, chrysanthemums, marigolds, or daisies
- Pregnancy/Nursing: Consult healthcare provider before use
- Eye Conditions: Do not use if experiencing active eye infections or injuries
- Contact Lenses: Remove before application
Storage Instructions & Shelf Life
Proper storage ensures your homemade eye cream maintains quality and safety:
- Storage Location: Cool, dry place away from direct sunlight
- Temperature: Room temperature (65-75°F) or refrigerate for extended life
- Container: Always use clean, dry hands or a small spatula for application
- Shelf Life: 3-4 months when stored properly, or 6 months if refrigerated
- Signs of Spoilage: Changes in color, texture, or development of off-odors
Application Guidelines
To use your DIY calendula eye cream:
- Ensure hands are thoroughly clean
- Use your ring finger (gentlest pressure) to apply
- Dab small amounts around orbital bone, avoiding direct eyelid contact
- Gently pat, don't rub, allowing skin to absorb naturally
- Use sparingly - a little goes a long way
- Apply morning and evening as part of skincare routine
Recipe Variations & Substitutions
Oil Alternatives
- Rosehip Oil: Replace sweet almond oil for additional skin-supporting compounds
- Argan Oil: Substitute for jojoba oil for different texture preferences
- Apricot Kernel Oil: Gentle alternative for sensitive skin types
Texture Modifications
- Lighter Consistency: Reduce beeswax to 1/2 teaspoon
- Firmer Cream: Increase beeswax to 1.5 teaspoons
- Whipped Version: Allow to partially cool, then whip with small mixer
Seasonal Adaptations
- Summer Formula: Add extra vitamin E for heat stability
- Winter Version: Include more shea butter for additional richness
Troubleshooting Common Issues
Texture Problems
Too Soft: Gently remelt and add small amounts of beeswax until desired consistency achieved.
Too Hard: Remelt and incorporate additional carrier oil gradually.
Grainy Texture: Usually indicates overheating - remelt at lower temperature and stir thoroughly.
Separation Issues
If ingredients separate during cooling, this typically indicates temperature differences between components. Gently remelt and ensure all ingredients reach similar temperatures before combining.
Exploring More DIY Options
This calendula eye cream recipe represents just one approach to incorporating this beloved botanical into your skincare routine. For those interested in exploring calendula oil dark circles applications, consider how different ingredient combinations might support your individual skin preferences.
The world of DIY calendula recipes offers numerous possibilities for customization. Each person's skin responds differently to various formulations, so don't hesitate to adjust ratios and ingredients based on your observations and preferences.
Important Reminders
While creating your own skincare products can be rewarding, remember that this recipe is shared for educational purposes. Individual skin reactions vary, and what works well for one person may not suit another. Always prioritize safety through proper patch testing and ingredient research.
If you experience persistent concerns around the eye area, consult with a qualified healthcare provider or dermatologist. DIY skincare should complement, never replace, professional medical advice when dealing with ongoing skin issues.
Enjoy the process of creating your own calendula eye cream, and remember that consistency in application and realistic expectations contribute to the most satisfying DIY skincare experiences.