DIY Calendula Oil Face Serum for Anti-Aging
Creating your own DIY calendula face serum allows you to harness the gentle, time-honored properties of calendula oil in a luxurious skincare blend. This botanical treasure has been traditionally cherished by skincare enthusiasts for its potential to support the skin's natural appearance and comfort. Our carefully crafted recipe combines calendula oil with complementary ingredients that may help promote a sense of nourishment and smoothness.
This calendula oil serum recipe is designed for those seeking a natural approach to daily skincare. While we make no medical claims about anti-aging effects, many people report that regular use of calendula-based serums leaves their skin feeling softer and appearing more radiant. As with all DIY skincare, individual results may vary, and it's essential to follow proper safety guidelines.
Understanding Calendula Oil in Skincare
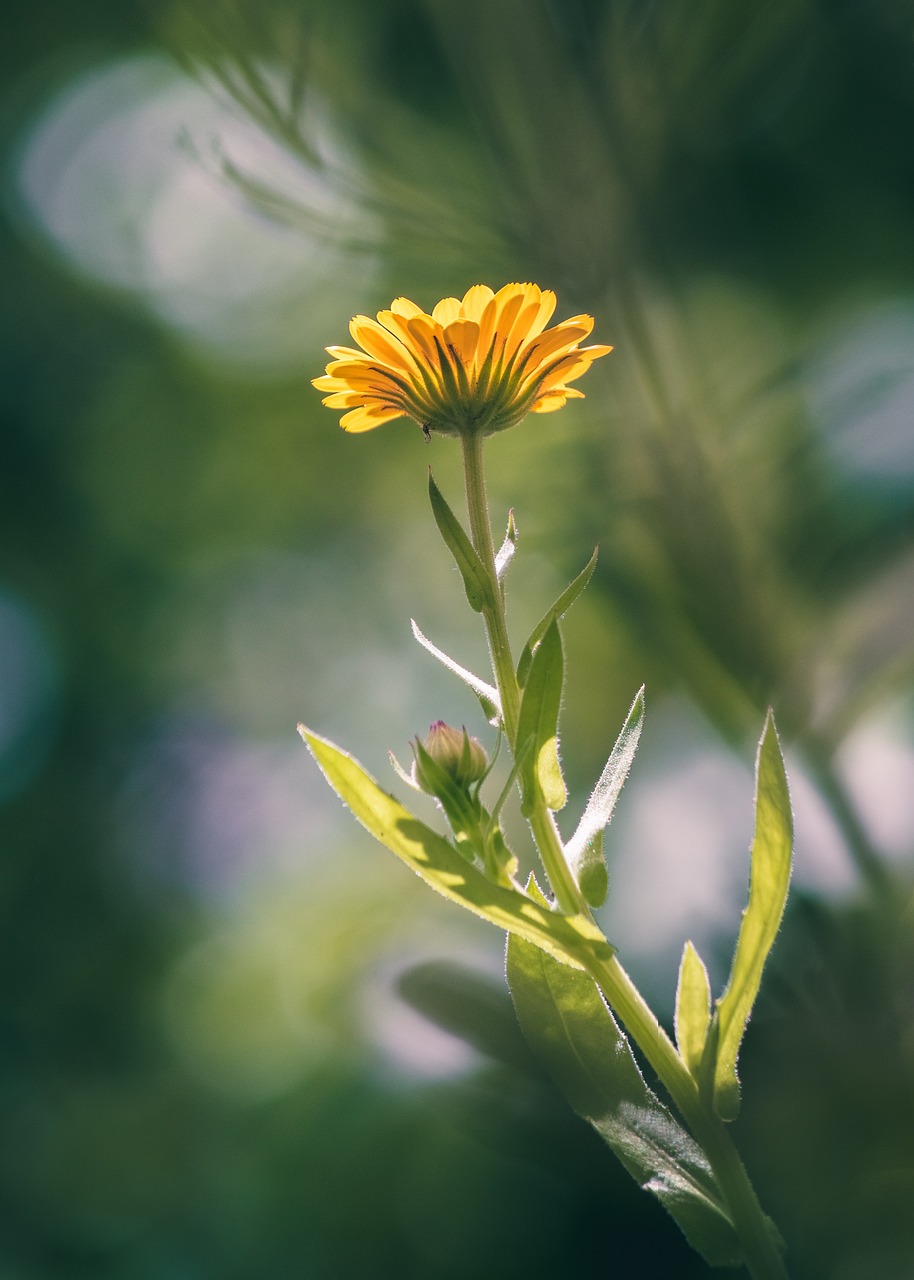
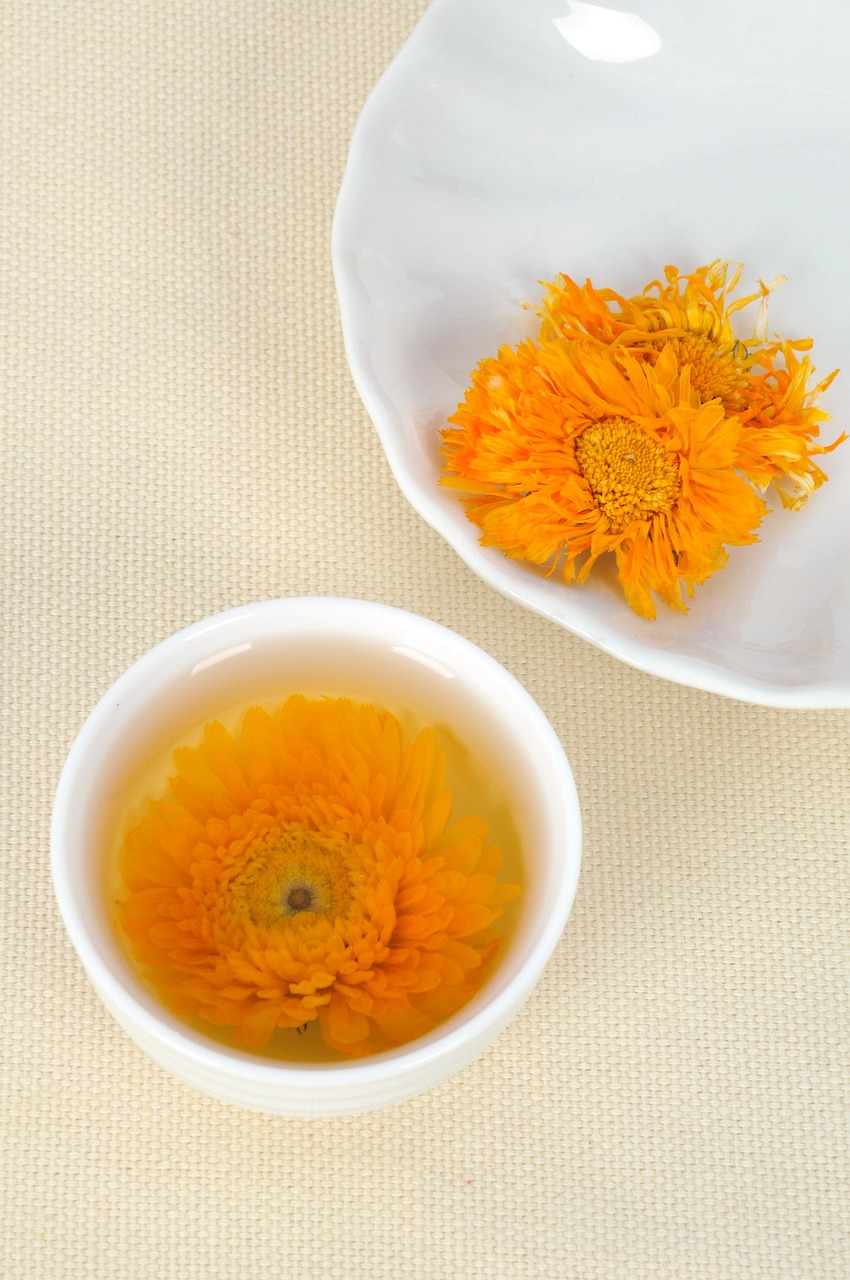
Before diving into our recipe, it's helpful to understand why calendula oil for face applications has gained such devoted followers. Calendula officinalis, commonly known as pot marigold, has been traditionally used in skincare for centuries. The oil is typically created through infusion methods, where calendula petals are steeped in carrier oils to extract their beneficial compounds.
Some research suggests that calendula may contain compounds like flavonoids and triterpenes, though we present this information purely for educational purposes. When exploring calendula oil anti-aging applications, it's important to understand that any benefits come from supporting the skin's natural processes rather than providing medical treatment.
Recipe Overview
Difficulty Level: Beginner
Prep Time: 15 minutes
Total Time: 15 minutes (plus cooling time)
Yield: Approximately 1 fl oz (30ml)
Shelf Life: 6-8 months when stored properly
Essential Safety Information
⚠️ Important Safety Warnings
- Always perform a patch test before first use. Apply a small amount to your inner wrist and wait 24 hours to check for reactions.
- Proper dilution is crucial: Essential oils should never exceed 1% concentration for facial use.
- Contraindications: Avoid if pregnant, nursing, or allergic to plants in the Asteraceae family (ragweed, chrysanthemums, marigolds, daisies).
- Sun sensitivity: Some citrus oils can increase photosensitivity. Use sunscreen when incorporating citrus essential oils.
- Not for internal use: This product is for external application only.
- Consult healthcare providers: Especially if you have sensitive skin, medical conditions, or are taking medications.
Complete Ingredients List
Base Oils (Primary Components)
- Calendula oil: 2 tablespoons (30ml) - the star ingredient
- Jojoba oil: 1 teaspoon (5ml) - lightweight, non-comedogenic carrier
- Rosehip seed oil: 1 teaspoon (5ml) - traditionally valued for skin support
Essential Oils (Optional Enhancement)
- Frankincense essential oil: 2-3 drops maximum (0.5-1% dilution)
- Lavender essential oil: 1-2 drops maximum
Natural Preservative
- Vitamin E oil: 1/4 teaspoon (1.25ml) - acts as natural antioxidant
Equipment Needed
- 1 oz dark glass dropper bottle (sterilized)
- Small glass measuring cup
- Glass stirring rod or clean chopstick
- Small funnel
- Labels for dating
Step-by-Step Instructions
Step 1: Preparation and Sterilization
- Thoroughly clean all equipment with rubbing alcohol or boiling water.
- Allow everything to air dry completely on a clean towel.
- Work in a clean environment to prevent contamination.
Step 2: Measuring Base Oils
- In your glass measuring cup, carefully measure 2 tablespoons of calendula oil.
- Add 1 teaspoon each of jojoba oil and rosehip seed oil.
- Gently swirl to combine the base oils.
Step 3: Adding Vitamin E
- Measure 1/4 teaspoon of vitamin E oil.
- Add to the base oil mixture and stir gently with your glass rod.
Step 4: Essential Oil Integration (Optional)
- If using essential oils, add frankincense drops first (2-3 maximum).
- Follow with lavender essential oil (1-2 drops maximum).
- Stir thoroughly but gently to ensure even distribution.
- Remember: Total essential oil content should not exceed 1% for facial use.
Step 5: Bottling and Storage
- Using your funnel, carefully transfer the mixture to your dark glass dropper bottle.
- Cap securely and label with the creation date.
- Allow to sit for 24 hours before first use to let ingredients meld.
Proper Storage and Shelf Life
Proper storage is crucial for maintaining your serum's quality and extending its shelf life:
- Location: Store in a cool, dark place away from direct sunlight
- Temperature: Room temperature (68-72°F) is ideal; refrigeration can extend life
- Container: Dark glass prevents light degradation
- Contamination prevention: Always use clean hands and avoid touching the dropper to your skin
- Shelf life: 6-8 months when stored properly, or until you notice changes in color, scent, or texture
Application Instructions
For optimal results, follow these application guidelines:
- Cleanse your face thoroughly and pat dry
- Apply 2-3 drops to your palm
- Gently warm between your palms
- Pat and press into clean skin, avoiding the eye area
- Use in the evening or as part of your preferred skincare routine
- Follow with moisturizer if desired
Recipe Variations and Substitutions
For Different Skin Types
Dry Skin Variation:
- Replace jojoba oil with sweet almond oil for extra richness
- Add 1 teaspoon of argan oil for additional nourishment
Oily Skin Variation:
- Increase jojoba oil to 2 teaspoons (it closely mimics skin's natural sebum)
- Replace rosehip oil with grapeseed oil for lighter texture
Sensitive Skin Variation:
- Omit essential oils entirely
- Add 1 teaspoon of sunflower oil, which is traditionally gentle
Seasonal Adaptations
Winter Formula: Add 1/2 teaspoon of avocado oil for extra protection during harsh weather.
Summer Formula: Increase jojoba oil ratio and reduce heavier oils for better absorption in humid conditions.
Understanding Ingredient Synergies
The beauty of this recipe lies in how the ingredients work together. Calendula oil serves as the foundation, while jojoba oil provides excellent skin compatibility. Rosehip seed oil adds its own traditional skincare benefits, and vitamin E helps preserve the blend naturally.
When exploring calendula oil blends, consider how each component contributes to the overall experience. The optional essential oils provide aromatic enhancement while staying within safe dilution parameters.
Troubleshooting Common Issues
Serum feels too heavy: Reduce the amount used or increase the jojoba oil ratio in your next batch.
Skin appears irritated: Discontinue use immediately and consult a healthcare provider. Consider patch testing individual ingredients to identify sensitivities.
Serum separates: This is normal with natural products. Gently shake before each use.
Color changes: Natural oils can darken over time. If the change is dramatic or accompanied by off-odors, prepare a fresh batch.
Cost-Effectiveness and Sustainability
Creating your own serum offers both economic and environmental advantages. A single batch costs significantly less than comparable commercial products while allowing you to control ingredient quality and sourcing. Using refillable glass containers reduces waste, and you can adjust formulations based on seasonal skin needs.
Final Thoughts
This DIY calendula face serum recipe provides a gentle introduction to natural skincare formulation. Remember that consistency is key—allow several weeks of regular use to fully appreciate how your skin responds to this botanical blend.
Always prioritize safety over experimentation, and don't hesitate to consult with qualified healthcare providers or certified aromatherapists if you have questions about ingredients or applications. Your skin's health and safety should always come first in any DIY skincare journey.
Most importantly, enjoy the process of creating something special for your skincare routine. The ritual of mixing your own serum can be as rewarding as the final product itself.