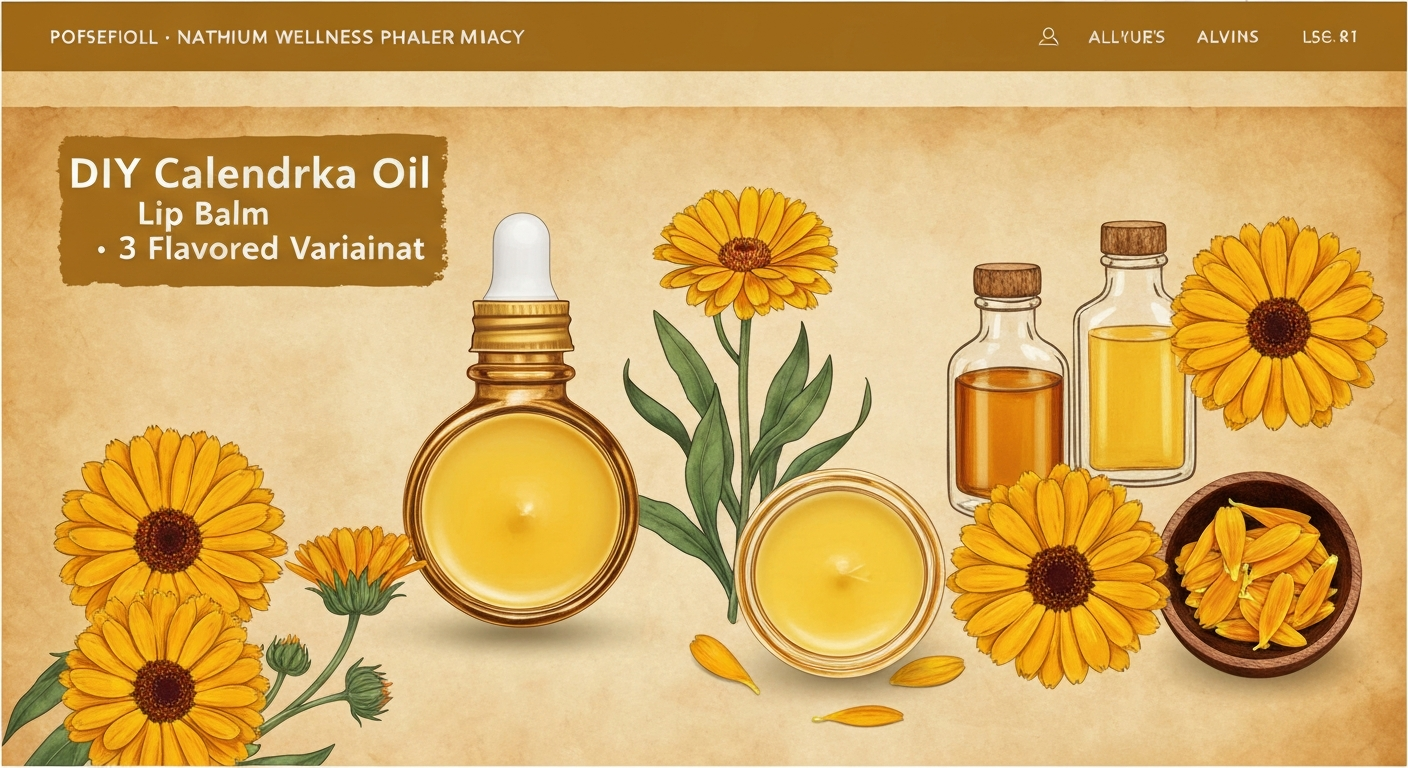
DIY Calendula Oil Lip Balm: 3 Flavored Variations
\n\nThere's something deeply satisfying about crafting your own lip care products, especially when you can harness the gentle properties that calendula oil has been traditionally valued for. This simple DIY calendula lip balm recipe allows you to create a nourishing lip treatment in your own kitchen, with three delightful flavor variations to suit your preferences.
\n\nWhether you're new to DIY beauty or a seasoned crafter, this recipe strikes the perfect balance between simplicity and customization. The golden warmth of calendula oil, combined with protective waxes and moisturizing oils, creates a lip balm that many people find wonderfully conditioning for daily use.
\n\n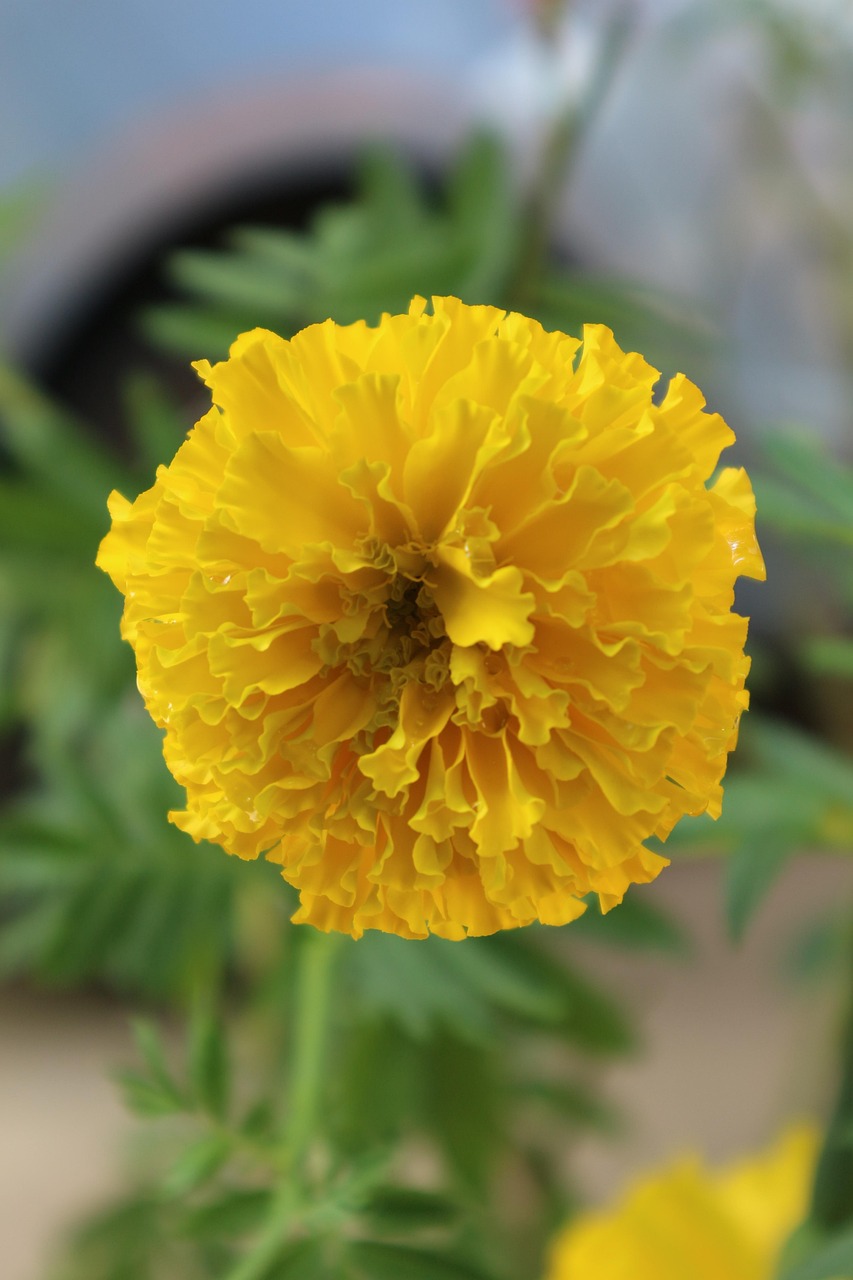 \n\n
\n\nWhy Choose Calendula for Lip Care?
\n\nCalendula oil has been a cherished ingredient in traditional skincare for centuries. The golden petals of Calendula officinalis have been gently infused into carrier oils, creating a product that many people find soothing and nourishing for delicate skin areas like the lips. While we can't make medical claims about its benefits, calendula oil lip care has a long history of traditional use.
\n\nThe gentle nature of properly prepared calendula oil makes it suitable for most skin types, though as with any new skincare ingredient, patch testing is always recommended.
\n\nRecipe Overview
\n\nDifficulty Level: Beginner
\nPrep Time: 15 minutes
\nSetting Time: 30-45 minutes
\nYield: Approximately 12-15 standard lip balm tubes
Essential Equipment
\n- \n
- Double boiler or heat-safe bowl and saucepan \n
- Digital kitchen scale (recommended for accuracy) \n
- Wooden stirring stick or glass rod \n
- Small measuring spoons \n
- Lip balm tubes or small tins \n
- Small funnel (optional but helpful) \n
 \n\n
\n\nBase Calendula Lip Balm Recipe
\n\nIngredients
\n- \n
- 2 tablespoons (30ml) high-quality calendula oil \n
- 2 tablespoons (28g) organic beeswax pellets \n
- 1 tablespoon (14g) organic coconut oil \n
- 1 teaspoon (4ml) sweet almond oil or jojoba oil \n
- Optional: 1-2 drops vitamin E oil (as a natural preservative) \n
Safety Precautions and Warnings
\n\n\n\n\nImportant Safety Information: Always perform a patch test before using any new skincare product. Apply a small amount to the inside of your wrist and wait 24 hours to check for any adverse reactions. If you have known allergies to plants in the Asteraceae family (including ragweed, daisies, or chrysanthemums), consult with a healthcare provider before using calendula products. Discontinue use if irritation occurs.
\n
Step-by-Step Instructions
\n\n- \n
- Prepare your workspace: Clean and sanitize all equipment. Ensure your lip balm tubes or containers are clean and dry. \n\li>Measure ingredients: Using a kitchen scale provides the most accurate results, but measuring spoons work well too.\n
- Create double boiler: Fill a small saucepan with about 2 inches of water and bring to a gentle simmer. Place a heat-safe bowl on top, ensuring the bottom doesn't touch the water. \n
- Melt the wax: Add beeswax pellets to the bowl and allow to melt slowly, stirring occasionally with a wooden stick. \n
- Add oils: Once beeswax is completely melted, add coconut oil and stir until melted. Remove from heat and add calendula oil, sweet almond oil, and vitamin E oil if using. \n
- Test consistency: Dip a clean spoon into the mixture and place it in the refrigerator for 2-3 minutes. Check the firmness – it should be solid but not too hard. If too soft, add a small amount more beeswax and remelt. \n
- Pour immediately: Working quickly, pour the mixture into lip balm tubes or containers. A small funnel helps prevent spills. \n
- Cool completely: Allow to set at room temperature for 30-45 minutes before capping. \n
Three Delicious Flavor Variations
\n\nVariation 1: Vanilla Honey
\n\nAdditional Ingredients:
\n- \n
- 3-4 drops natural vanilla extract (alcohol-free) OR 2 drops vanilla essential oil \n
- 1/2 teaspoon raw honey (melted) \n
Instructions: Add honey to the melted oil and wax mixture, stirring well. Add vanilla just before pouring. The honey adds natural humectant properties that many people find conditioning.
\n\nVariation 2: Citrus Mint Fresh
\n\nAdditional Ingredients:
\n- \n
- 2 drops sweet orange essential oil \n
- 1 drop peppermint essential oil \n
- 1 drop lemon essential oil \n
Safety Note: Citrus oils can increase photosensitivity. Use minimal amounts and avoid sun exposure immediately after application. Always dilute essential oils properly – the ratios above represent a safe dilution of approximately 1% in the final product.
\n\nVariation 3: Lavender Dreams
\n\nAdditional Ingredients:
\n- \n
- 3-4 drops lavender essential oil \n
- 1 drop Roman chamomile essential oil (optional) \n
Instructions: Add essential oils just before pouring. This combination creates a gentle, floral scent that many find relaxing for evening use.
\n\n\n\nStorage and Shelf Life
\n\nProper storage is crucial for maintaining the quality and safety of your homemade lip balm:
\n\n- \n
- Storage location: Keep in a cool, dry place away from direct sunlight \n
- Temperature: Avoid storing in hot cars or bathrooms where temperature fluctuates \n
- Shelf life: 6-12 months when stored properly. The addition of vitamin E oil may help extend shelf life naturally \n
- Signs to replace: Discard if you notice any change in smell, color, or texture, or if the balm develops an off odor \n
Customization Tips and Substitutions
\n\nOil Substitutions
\nFeel free to experiment with different carrier oils while maintaining the same ratios:
\n- \n
- Replace sweet almond oil with jojoba, grapeseed, or fractionated coconut oil \n
- Substitute part of the coconut oil with shea butter for extra richness \n
- Try different DIY calendula recipes by using calendula-infused versions of other carrier oils \n
Wax Alternatives
\nFor those preferring plant-based options:
\n- \n
- Candelilla wax (use 3/4 the amount of beeswax called for) \n
- Carnauba wax (use 1/2 the amount of beeswax) \n
Troubleshooting Common Issues
\n\nBalm Too Soft
\nAdd more beeswax, 1/2 teaspoon at a time, and remelt. Test consistency before pouring.
\n\nBalm Too Hard
\nAdd more liquid oils, 1/2 teaspoon at a time, and remelt.
\n\nGrainy Texture
\nThis often results from temperature shock. Ensure all ingredients are fully melted and mixed before cooling.
\n\nEssential Oil Separation
\nAdd essential oils when the mixture has cooled slightly but is still liquid to prevent evaporation.
\n\n\n\nMaking It Your Own
\n\nThis basic recipe serves as a foundation for endless creativity. Many crafters enjoy experimenting with different calendula oil uses and combinations. Consider keeping notes about your modifications – what worked well, what didn't, and any reactions or preferences you notice.
\n\nSome crafters like to add a tiny amount of natural colorant, such as beetroot powder for a subtle pink tint, or spirulina powder for a light green shade. Always research any additions thoroughly and patch test new ingredients.
\n\nA Final Word on Safety
\n\nWhile this DIY calendula lip balm recipe uses ingredients that are generally well-tolerated, remember that individual sensitivities can vary. Always start with patch testing, especially if you have sensitive skin or known allergies. If you experience any irritation, discontinue use immediately and consult with a qualified healthcare provider if needed.
\n\nThe joy of creating your own lip care products lies not just in the final result, but in the process of learning about natural ingredients and understanding what works best for your individual needs. Take your time, enjoy the crafting process, and celebrate each successful batch as a step forward in your DIY journey.
\n\nWith proper preparation, quality ingredients, and attention to safety guidelines, you'll be rewarded with beautifully crafted lip balms that reflect your personal style and preferences – a true expression of nature's golden healer in portable, practical form.
" } ```