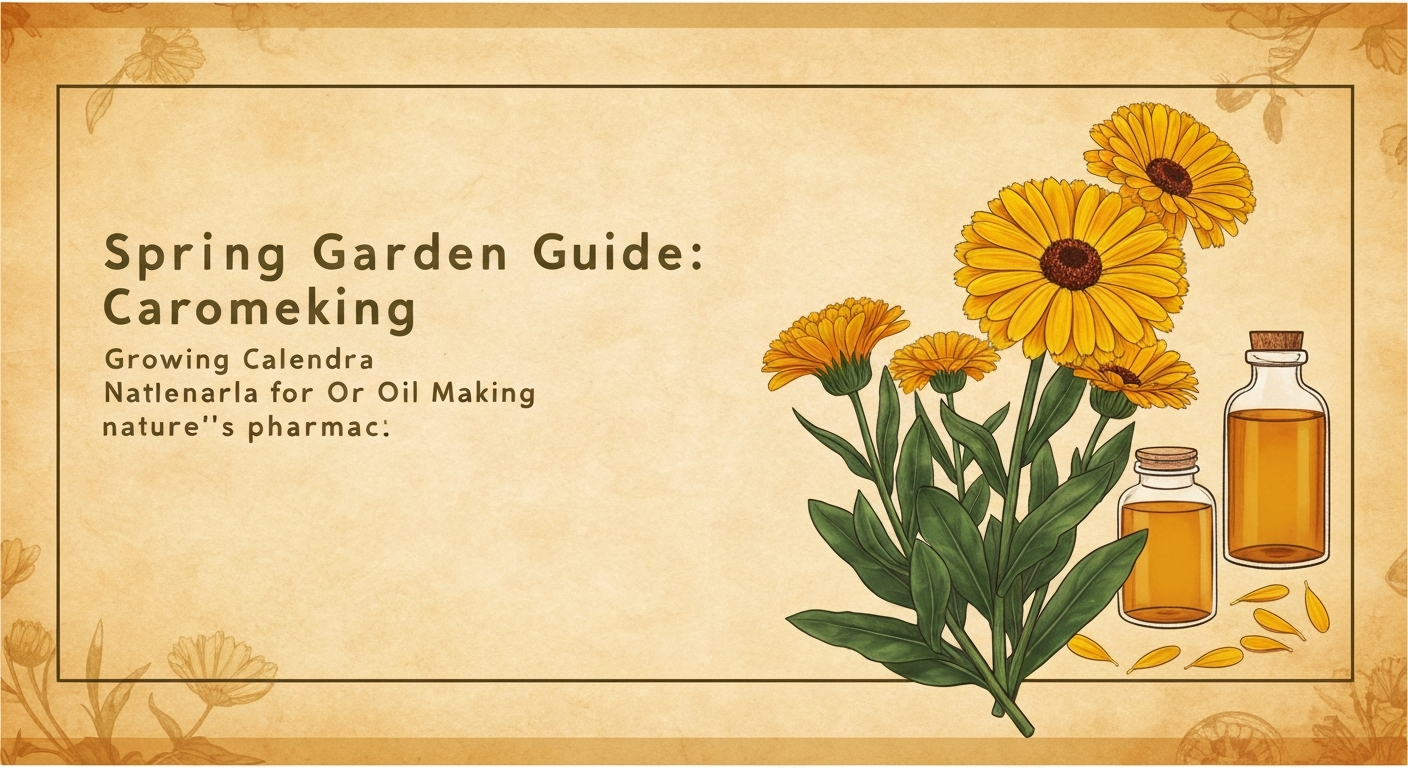
Spring Garden Guide: Growing Calendula for Oil Making
As winter's chill gives way to spring's gentle warmth, gardeners across the country are turning their attention to one of nature's most treasured flowers: calendula. This golden-orange bloom, often called "pot marigold," has captivated botanical enthusiasts for centuries, not just for its cheerful appearance but for its remarkable versatility in traditional crafts and preparations.
Spring presents the perfect opportunity to begin your calendula-growing journey, whether you're a seasoned gardener or just beginning to explore the world of botanical cultivation. With proper planning and care, you can establish a thriving calendula patch that will provide abundant blooms throughout the growing season—perfect for those interested in creating their own calendula oil at home.
Why Spring is Prime Time for Calendula Planting
The timing of spring calendula planting is crucial for establishing robust plants that will flourish throughout the growing season. Unlike tender annuals that require warm soil, calendula (Calendula officinalis) is remarkably cold-tolerant, thriving in the cool, moist conditions that characterize early spring.
Most regions can accommodate calendula seeding 2-4 weeks before the last expected frost date. This hardy annual actually prefers cooler temperatures for germination and early growth, making it an ideal candidate for early spring garden preparation. The extended daylight hours of spring provide optimal conditions for seed germination, while the naturally moist soil conditions eliminate much of the watering concerns associated with summer plantings.
For those planning to cultivate calendula specifically for oil-making purposes, spring planting offers the advantage of multiple harvest opportunities throughout the season. A well-established spring-planted calendula bed can provide fresh blooms from late spring through the first hard frost, ensuring a steady supply of petals for your botanical projects.
Selecting the Right Calendula Varieties for Oil Production
Not all calendula varieties are created equal when it comes to oil-making potential. While the species Calendula officinalis encompasses numerous cultivars, certain varieties have traditionally been favored for their robust petal production and concentrated botanical compounds.
The classic 'Erfurter Orange' variety stands as a time-tested choice, producing large, fully double blooms with abundant petals. 'Pacific Beauty' offers similar characteristics with slightly larger flowers, while 'Orange King' provides exceptionally vibrant coloration that many find aesthetically pleasing in finished oil preparations.
For those seeking maximum yield, consider 'Resina' or 'Erfurter' strains, which have been specifically selected for their resinous qualities—the very compounds that make calendula so prized in traditional botanical applications. These varieties tend to produce flowers with a slightly sticky feel to the petals, indicating higher concentrations of the natural compounds that transfer into oil preparations.
Understanding Seed Quality and Sources
The foundation of any successful calendula garden lies in quality seed selection. When sourcing seeds for spring planting, prioritize suppliers who specialize in herb and medicinal plant varieties, as these sources typically offer seeds selected for botanical applications rather than purely ornamental purposes.
Fresh seed is crucial—calendula seeds maintain optimal viability for 3-4 years when properly stored, but germination rates decline with age. Look for seeds that are plump, uniform in size, and free from signs of damage or disease. Many experienced growers prefer to source from small-scale seed companies that provide detailed growing information and harvest dates.
Optimal Growing Conditions for Spring Calendula
Creating the ideal environment for your spring calendula planting requires understanding the plant's preferences and adapting them to your local conditions. Calendula demonstrates remarkable adaptability, but providing optimal conditions will reward you with more abundant blooms and healthier plants.
Soil Preparation and Requirements
Calendula thrives in well-draining, moderately fertile soil with a pH range of 6.0 to 7.0. Heavy clay soils can be problematic, as they tend to retain excess moisture that may lead to root issues, while very sandy soils may require more frequent watering and fertilization.
Begin soil preparation in early spring as soon as the ground can be worked. Incorporate 2-3 inches of compost or well-aged manure into the planting area, which will improve both drainage and fertility. Avoid over-fertilizing, particularly with high-nitrogen amendments, as this can promote excessive foliage growth at the expense of flower production.
A simple soil test can provide valuable information about your garden's pH and nutrient levels. If your soil tends toward acidity, a light application of lime in early spring can help achieve the slightly alkaline conditions that calendula prefers.
Light and Location Considerations
While calendula can tolerate partial shade, full sun exposure (6-8 hours daily) produces the most robust plants and abundant blooms. In regions with intense summer heat, some afternoon shade can actually be beneficial, preventing stress during the hottest months and extending the blooming period.
Consider the location's air circulation when planning your calendula bed. Good airflow helps prevent fungal issues that can occasionally affect calendula, particularly in humid climates or during prolonged wet periods. Avoid low-lying areas where water tends to collect, as these conditions can promote root problems.
Step-by-Step Spring Planting Guide
Successfully establishing your calendula crop requires attention to timing, technique, and early care. Follow this comprehensive planting guide to ensure your spring calendula gets off to the strongest possible start.
Timing Your Planting
The key to successful spring calendula establishment lies in understanding your local frost patterns and soil conditions. In most temperate regions, direct seeding can begin 2-4 weeks before the last expected frost date. Calendula seeds will germinate in soil temperatures as low as 45°F (7°C), though optimal germination occurs between 55-65°F (13-18°C).
For earlier blooms, consider starting seeds indoors 6-8 weeks before your intended transplant date. This approach allows you to have established seedlings ready for outdoor planting as soon as conditions permit, potentially extending your harvest season by several weeks.
Direct Seeding Technique
Direct seeding offers several advantages for calendula cultivation, including stronger root systems and reduced transplant shock. Begin by marking your planting rows, spacing them 12-18 inches apart to allow for adequate air circulation and ease of maintenance.
Plant seeds ¼ to ½ inch deep, spacing them 2-3 inches apart within the row. Calendula seeds are relatively large and easy to handle, making precise placement straightforward. After planting, gently firm the soil over the seeds and water with a fine spray to avoid disturbing the seed placement.
Germination typically occurs within 7-14 days under favorable conditions. Once seedlings emerge and develop their first true leaves, thin them to 8-12 inches apart to prevent overcrowding and ensure robust plant development.
Indoor Starting Methods
For gardeners in shorter growing seasons or those seeking earlier blooms, indoor seed starting provides an excellent option. Use a quality seed-starting mix in cells or small pots, as calendula develops a taproot that doesn't appreciate root disturbance.
Maintain soil temperature around 60-65°F (16-18°C) for optimal germination. Once seeds sprout, provide bright light—either from a sunny window or grow lights positioned 2-3 inches above the seedlings. Gradually acclimate indoor-started plants to outdoor conditions over 7-10 days before transplanting.
Essential Care Through the Growing Season

Proper care throughout the growing season ensures your calendula plants remain healthy and productive, providing the abundant blooms needed for oil-making projects. Understanding the plant's seasonal needs allows you to adjust your care routine as conditions change.
Watering Requirements and Techniques
Calendula demonstrates moderate drought tolerance once established, but consistent moisture during the growing season promotes better flowering and overall plant health. Aim to provide approximately 1 inch of water per week through a combination of rainfall and supplemental irrigation.
Water deeply but less frequently to encourage deep root development. Morning watering is preferred, as it allows foliage to dry before evening, reducing the risk of fungal issues. During hot summer periods, mulching around plants helps retain soil moisture and keep roots cool.
Monitor soil moisture levels regularly, particularly during flowering periods when plants require consistent water for optimal bloom production. Avoid overhead watering during flowering, as wet petals can be more susceptible to pest and disease issues.
Fertilization and Soil Management
Calendula performs best with moderate fertility levels—too much nitrogen can result in lush foliage at the expense of flower production. A balanced, slow-release fertilizer applied at planting time often provides sufficient nutrition for the entire growing season.
For those preferring organic approaches, compost tea applications every 3-4 weeks during the growing season can provide gentle nutrition without overstimulating vegetative growth. (See: NIH — Calendula Research.) Side-dressing with compost mid-season can also help maintain soil fertility and structure.
Monitor plants for signs of nutrient deficiency, such as yellowing leaves or reduced flowering. However, resist the urge to over-fertilize, as calendula typically performs better with lean to moderate soil conditions.
Maximizing Bloom Production for Oil Making
For those planning to use their calendula harvest for creating homemade oil preparations, understanding how to maximize bloom production becomes crucial. Several cultivation techniques can significantly increase your flower yield throughout the growing season.
Deadheading and Succession Planting
Regular deadheading—removing spent flowers—is perhaps the most important technique for maintaining continuous bloom production. Remove flowers as they begin to fade, cutting back to the first set of leaves below the flower head. This practice prevents the plant from putting energy into seed production and encourages the formation of new flower buds.
For maximum harvest potential, consider succession planting—sowing new seeds every 2-3 weeks through late spring and early summer. This technique ensures a continuous supply of fresh blooms rather than a single large harvest, which can be particularly valuable for ongoing oil-making projects.
Pinching and Plant Training
When plants reach 4-6 inches in height, pinching the growing tips encourages branching and ultimately results in more flowering stems per plant. While this technique may delay initial flowering by a week or two, the increased number of blooms more than compensates for the temporary delay.
Some growers also practice selective harvesting, taking only the largest, most fully developed blooms while leaving smaller buds to continue developing. This approach provides immediate harvesting opportunities while maintaining plant productivity.
Pest and Disease Management
While calendula is generally a robust and pest-resistant plant, understanding potential challenges and prevention strategies helps ensure a healthy, productive crop throughout the growing season.
Common Pest Issues
Aphids occasionally affect calendula, particularly during periods of rapid spring growth. These soft-bodied insects typically cluster on new growth and flower buds. Regular monitoring allows for early detection, and a strong stream of water can often dislodge light infestations.
Slugs and snails may target young seedlings, particularly in damp spring conditions. Maintaining good garden hygiene and using physical barriers like diatomaceous earth can help protect vulnerable plants. Beer traps or copper barriers provide organic control options for persistent problems.
Flea beetles sometimes create small holes in calendula leaves, though damage is typically cosmetic and doesn't significantly impact flower production. Row covers during the early growth period can prevent initial infestations if these pests have been problematic in previous seasons.
Disease Prevention
Powdery mildew can occasionally affect calendula, particularly in humid conditions or where air circulation is poor. Ensuring adequate plant spacing and avoiding overhead watering during humid periods helps prevent this fungal issue. If powdery mildew does appear, organic fungicides or milk sprays (1 part milk to 10 parts water) may help control its spread.
Root rot can occur in poorly-draining soils or during prolonged wet periods. Proper soil preparation and avoiding overwatering are the best prevention strategies. Plants affected by root rot typically show yellowing leaves and stunted growth—removing affected plants helps prevent spread to healthy specimens.
Harvesting for Optimal Oil Quality
The timing and technique of harvest significantly impact the quality of calendula petals for oil-making purposes. Understanding when and how to harvest ensures you capture the maximum concentration of beneficial plant compounds.
Identifying Peak Harvest Time
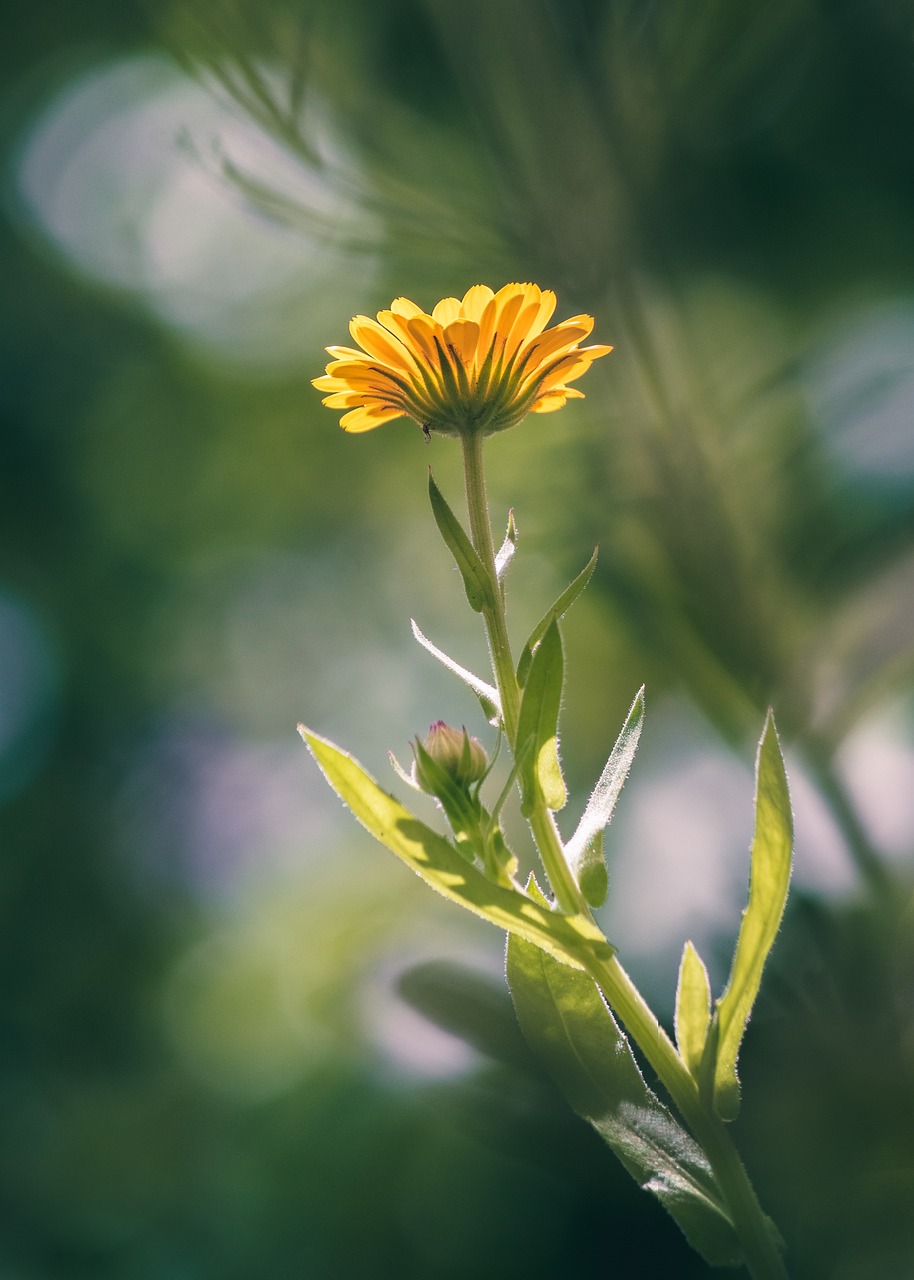
Calendula flowers should be harvested when fully open but before they begin to show signs of fading or petal drop. The optimal time is mid-morning, after the dew has evaporated but before the heat of the day causes the flowers to close slightly.
Look for blooms with vibrant color and petals that feel slightly sticky to the touch—this indicates the presence of the resinous compounds that make calendula so valued in traditional preparations. Avoid flowers that appear wilted, damaged, or show signs of pest activity.
Different varieties may have slightly different harvest indicators, but generally, flowers harvested at peak development provide the best results for oil-making projects. Regular harvesting also encourages continued bloom production throughout the season.
Proper Harvesting Technique
Use clean, sharp scissors or pruning shears to cut flower stems just above a leaf node or secondary bud. This technique encourages the plant to produce new flowering stems while maintaining plant health and structure.
Handle harvested flowers gently to avoid bruising the delicate petals. Use shallow baskets or trays that allow flowers to lay in a single layer, preventing crushing and maintaining petal integrity. Process harvested flowers as soon as possible, as their quality begins to decline shortly after cutting.
For those planning immediate use in oil preparations, flowers can be processed fresh. However, if timing doesn't allow immediate processing, proper drying techniques can preserve the harvest for later use in various botanical applications.
Planning for Continuous Harvest
Successful calendula cultivation for oil-making requires strategic planning to ensure a steady supply of fresh blooms throughout the growing season. Understanding the plant's growth patterns and implementing appropriate techniques can extend your harvest period significantly.
Succession Planting Strategies
Rather than planting all your calendula seeds at once, consider staggered plantings every 2-3 weeks from early spring through mid-summer. This approach provides a continuous supply of plants at different growth stages, ensuring fresh blooms are available throughout the season.
In regions with mild winters, fall plantings can provide early spring blooms, creating a nearly year-round harvest cycle. These overwintered plants often produce some of the highest quality flowers, as they benefit from the cool, moist conditions of early spring.
Extending the Season
As temperatures rise during summer, calendula plants may slow their blooming or enter a brief dormancy period. Providing afternoon shade during the hottest months can help maintain plant vigor and flower production. Some growers cut plants back by one-third during midsummer heat waves, which often stimulates fresh growth and renewed blooming as temperatures moderate.
In fall, calendula often experiences a second flush of vigorous growth and flowering as temperatures cool. Protecting plants from early light frosts with row covers can extend the harvest season well into autumn, providing late-season blooms for oil-making projects.
Companion Planting and Garden Integration
Integrating calendula into a diverse garden ecosystem can provide numerous benefits beyond flower production. Understanding compatible companion plants helps create a more balanced and productive growing environment.
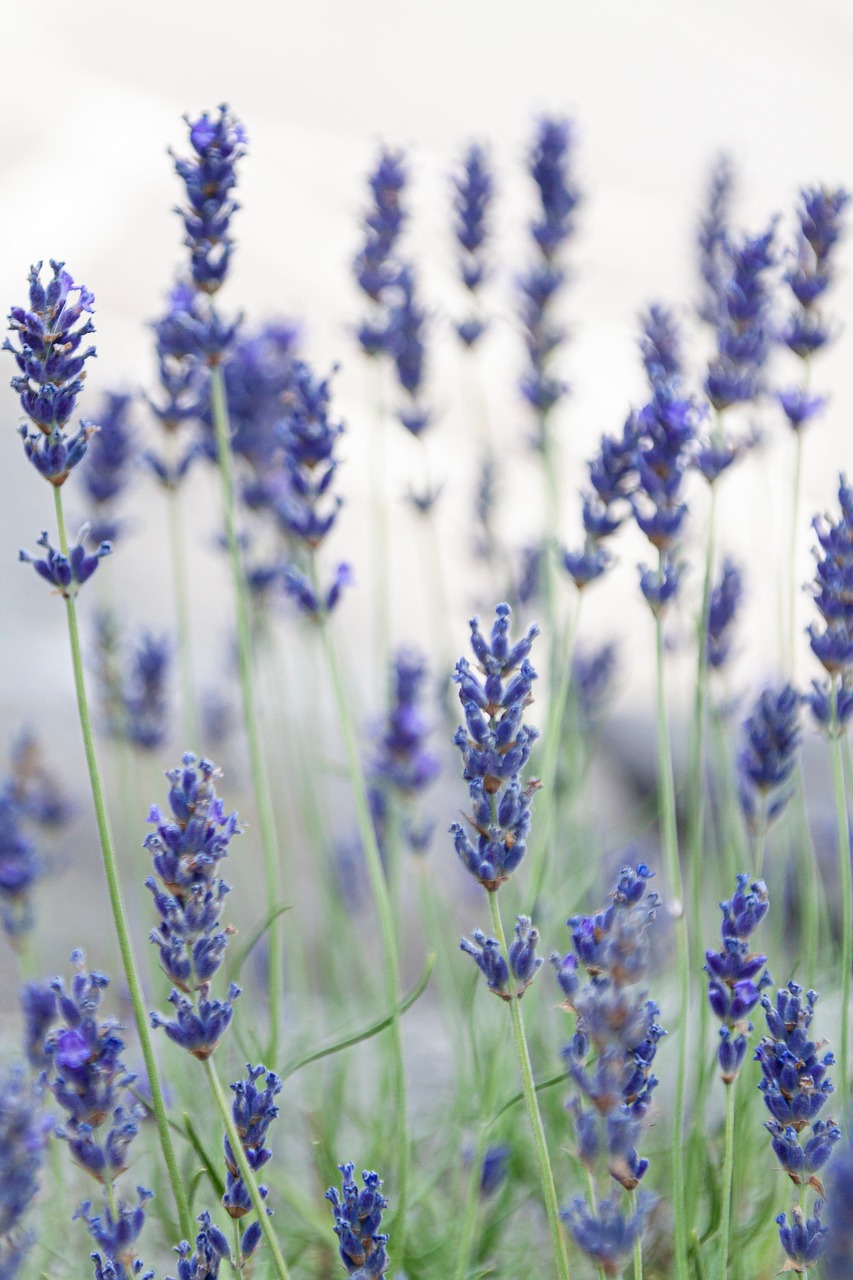
Traditional herb gardens often feature calendula alongside other beneficial plants like lavender, chamomile, and various culinary herbs. These combinations create visually appealing gardens while providing diverse materials for various botanical projects.
Calendula serves as an excellent companion plant for vegetables, with many gardeners reporting that it may help deter certain pest insects while attracting beneficial pollinators. Its bright flowers add color and visual interest to vegetable gardens, making it both functional and ornamental.
Consider the mature size and growth habits of companion plants when planning your garden layout. Calendula's moderate height and bushy growth pattern works well as a border plant or interspersed among taller herbs and flowers.
As you embark on your spring calendula growing journey, remember that successful cultivation comes from understanding the plant's needs and adapting techniques to your local conditions. With proper planning, care, and attention to harvest timing, your spring-planted calendula can provide abundant blooms for oil-making projects throughout the growing season. Whether you're a beginning gardener or an experienced cultivator, the rewarding process of growing your own calendula connects you directly to the traditional practices that have valued this remarkable plant for generations.